코틀린에서 카메라 앱을 만드는 부분을 따라해 본적이 있었는데요.
앱의 기본 카메라 앱을 연결해 쓰는 부분까지는 시도해 성공해 보았지만,
앱에 카메라를 내장해서 띄우는 부분은 복잡한 설정으로 인해 아직 오리무중입니다. 🦆🦆🦆...
그런데 플러터 공식사이트의 샘플들을 이것저것 보다 보니 카메라 앱 샘플이 있지 뭡니까?
따라해보니 글쎄 한번에 성공을 해버리더라는! (*゚ロ゚)

최근 작동 확인은 2024. 2. 18일입니다.
방법도 꽤 간단해서 오늘은 관련 경험을 공유드립니다.
그럼 찬양 유튜브 영상 하나 공유드리니 심심하면 틀어 놓고 렛츠 고우~
샘플 소~우스
우선 플러터 공식 사이트의 관련 예제 URL은 아래와 같은데요.
https://docs.flutter.dev/cookbook/plugins/picture-using-camera
영어로 안내가 되어 있지만 뭐 크레이가 한글로 설명드릴거니 영어울렁증으로 겁내지는 마세요 😅
거두절미하고 소스 코드를 공개하면 아래와 같은데요.
아래 소스를 비주얼 스튜디오 코드에서 바로 실행하면 이상하게 실행이 안됩니다. ●| ̄|_
그것은 설정 2개를 바꿔주어야 하기 때문이지요.
lib\main.dart
import 'dart:async';
import 'dart:io';

import 'package:camera/camera.dart';
import 'package:flutter/material.dart';

Future<void> main() async {
  // Ensure that plugin services are initialized so that `availableCameras()`
  // can be called before `runApp()`
  WidgetsFlutterBinding.ensureInitialized();

  // Obtain a list of the available cameras on the device.
  final cameras = await availableCameras();

  // Get a specific camera from the list of available cameras.
  final firstCamera = cameras.first;

  runApp(
    MaterialApp(
      theme: ThemeData.dark(),
      home: TakePictureScreen(
        // Pass the appropriate camera to the TakePictureScreen widget.
        camera: firstCamera,
      ),
    ),
  );
}

// A screen that allows users to take a picture using a given camera.
class TakePictureScreen extends StatefulWidget {
  const TakePictureScreen({
    super.key,
    required this.camera,
  });

  final CameraDescription camera;

  @override
  TakePictureScreenState createState() => TakePictureScreenState();
}

class TakePictureScreenState extends State<TakePictureScreen> {
  late CameraController _controller;
  late Future<void> _initializeControllerFuture;

  @override
  void initState() {
    super.initState();
    // To display the current output from the Camera,
    // create a CameraController.
    _controller = CameraController(
      // Get a specific camera from the list of available cameras.
      widget.camera,
      // Define the resolution to use.
      ResolutionPreset.medium,
    );

    // Next, initialize the controller. This returns a Future.
    _initializeControllerFuture = _controller.initialize();
  }

  @override
  void dispose() {
    // Dispose of the controller when the widget is disposed.
    _controller.dispose();
    super.dispose();
  }

  @override
  Widget build(BuildContext context) {
    return Scaffold(
      appBar: AppBar(title: const Text('Take a picture')),
      // You must wait until the controller is initialized before displaying the
      // camera preview. Use a FutureBuilder to display a loading spinner until the
      // controller has finished initializing.
      body: FutureBuilder<void>(
        future: _initializeControllerFuture,
        builder: (context, snapshot) {
          if (snapshot.connectionState == ConnectionState.done) {
            // If the Future is complete, display the preview.
            return CameraPreview(_controller);
          } else {
            // Otherwise, display a loading indicator.
            return const Center(child: CircularProgressIndicator());
          }
        },
      ),
      floatingActionButton: FloatingActionButton(
        // Provide an onPressed callback.
        onPressed: () async {
          // Take the Picture in a try / catch block. If anything goes wrong,
          // catch the error.
          try {
            // Ensure that the camera is initialized.
            await _initializeControllerFuture;

            // Attempt to take a picture and get the file `image`
            // where it was saved.
            final image = await _controller.takePicture();

            if (!context.mounted) return;

            // If the picture was taken, display it on a new screen.
            await Navigator.of(context).push(
              MaterialPageRoute(
                builder: (context) => DisplayPictureScreen(
                  // Pass the automatically generated path to
                  // the DisplayPictureScreen widget.
                  imagePath: image.path,
                ),
              ),
            );
          } catch (e) {
            // If an error occurs, log the error to the console.
            print(e);
          }
        },
        child: const Icon(Icons.camera_alt),
      ),
    );
  }
}

// A widget that displays the picture taken by the user.
class DisplayPictureScreen extends StatelessWidget {
  final String imagePath;

  const DisplayPictureScreen({super.key, required this.imagePath});

  @override
  Widget build(BuildContext context) {
    return Scaffold(
      appBar: AppBar(title: const Text('Display the Picture')),
      // The image is stored as a file on the device. Use the `Image.file`
      // constructor with the given path to display the image.
      body: Image.file(File(imagePath)),
    );
  }
}
설정 변경!
첫번째 설정으로 카메라를 사용하려면 카메라 위젯 기능을 포함해주어야 하는데요.
플러터에서는 pubspec.yaml 파일을 열어 dependencies ( 종속성 ) 에 camera 기능을 추가해 주면 됩니다.
아래와 같이 말이지요. ( 빨간색 부분 )
pubspec.yaml
:
dependencies:
camera: ^0.10.5+9
flutter:
sdk: flutter
:

안드로이드 스튜디오는 이 밖에서 뭔가 설정이 추가되어야 하나
비주얼 스튜디오 코드에서는 이렇게 수정 후 저장만 하면 알아서 모두 설치해 줍니다.
그래서 비주얼 스튜디오가 아주 마음에 들더라구요 ㅎㅎ ☜(˚▽˚)☞
두번째 설정으로는 안드로이드 sdk 최소버전 설정을 변경해 주어야 하는데요.
이게 중요합니다. 변경하지 않으면 작동이 안되더라구요.
android\app\build.gradle 파일을 연 다음에 minSdkVersion 을 찾아 21로 변경해 주어야 합니다.(빨간색)
:
minSdkVersion 21
:

추후 코틀린으로 카메라 기능이 내장된 앱을 다시 도전한다면 이 설정을 한번 확인해봐야겠습니다.
플러터가 마음에 들어 시도할 일은 없을 것 같지만요 :)
결과는?! 두구두구! 잘 된닷!
별 설정 없이 기기 연결해 실행하니, 오우~ 너무 쉽게 성공하는 것을 볼 수 있었습니다.
아래와 같이 앱이 실행되는데 앱에 내장 카메라가 실행되어,
리얼 현실이 화면 안에 막막 보이지 뭡니까? 대~박! + O +
( 아래 영상은 얼마 전에 구매한 노트로 저작권 문제가 있을까봐 모자이크 처리했습니다 )
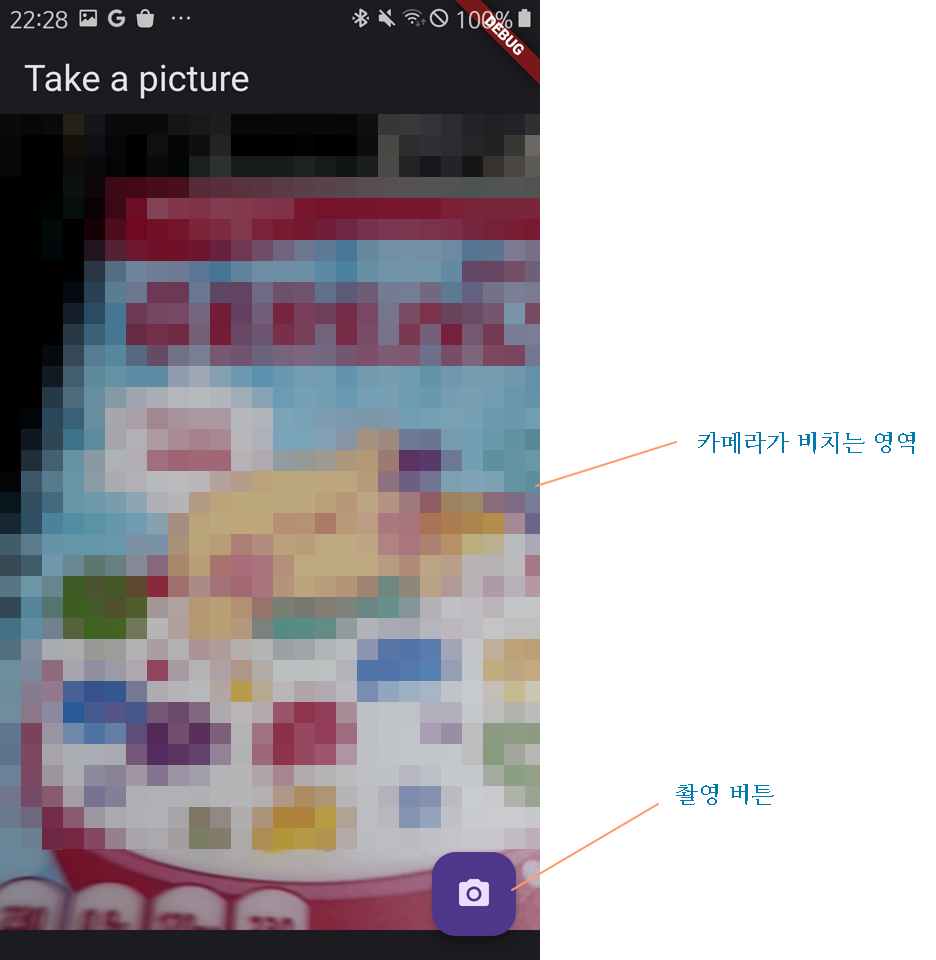
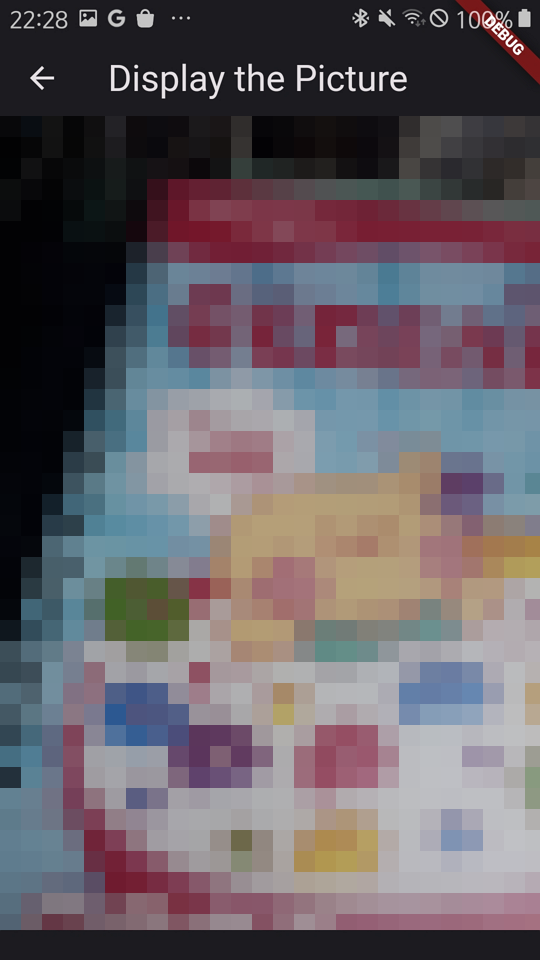
촬영 버튼을 터치하니 사진이 떡! 하니 박히더라니 뭡니까?
이거 잘 응용하면 재미 있는걸 만들 수 있겠더군요! +_+
그 밖에..
사실 설정이 하나 더 있는데요. 바로 iOS 설정입니다.
필자는 아이폰과 맥북이 없는 관계로 실험은 못하지만 공식사이트 내용을 해석하면 아래와 같습니다.
On iOS, lines below have to be added inside ios/Runner/Info.plist in order the access the camera and microphone.
iOS 에서는 카메라와 마이크로폰을 사용하기 위해 하단 내용을 ios/Runner/Info.plist 파일에 추가해 주어야 합니다.
<key>NSCameraUsageDescription</key>
<string>Explanation on why the camera access is needed.</string>
<key>NSMicrophoneUsageDescription</key>
<string>Explanation on why the microphone access is needed.</string>
해당 파일에는 <dict> 라는 설정이 있는데 아래와 같이 넣으라는 내용인 것 같습니다.

iOS 에서 성공하시는 분이 계시다면 제보해주시면 감개무량하겠습니다~!!

마무~리
코틀린에서 내장 카메라 앱을 시도해 보았다가 ( 비록 많은 시간을 들이지는 못했지만.. )
쉽게 안 풀려서 어렵네.. 하고 약간 낙심(?)같은 걸 했었는데
플러터에서 이렇게 쉽게 풀리다니! 하고 아주 통쾌한 마음으로 내용 공유 드립니다.

아무쪼록 오늘도 방문해주신 모든 분들께 감사드립니다.
도움 되셨다면 좋아요와 구독해주신다면 사랑해~요! ♥.♥
'코딩과 알고리즘' 카테고리의 다른 글
| 플러터 SIDE 프로젝트. 바이블 마인드 #1 (2) | 2024.03.24 |
|---|---|
| 플러터 체험기 5. 갤러리 사진 뷰어 (2) | 2024.02.26 |
| 플러터(flutter) 체험2, 설치 없이 개발을? (2) | 2024.02.12 |
| 플러터(flutter) 체험기, 와- 이런것도 돼? (4) | 2024.02.10 |
| 구글 OAUTH 2.0 웹 로그인 (2) | 2024.01.20 |


